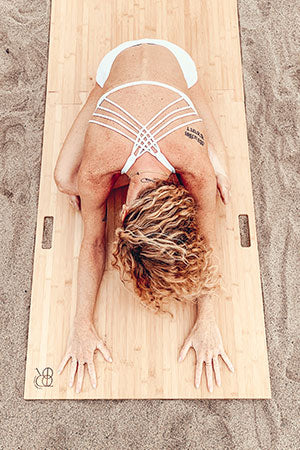
How to Build your own Root Board.

I am happy to share this DIY version of The Root Board. Happy Yogis make the world a better place. We know this portable hardwood surface yoga board will advance your practice! Please refer to the PDF (at the bottom of this page) for in-depth instructions and photos for each of these steps. I've also written a long-form description of the build with tips and tricks in the blog here. Finally, watch my short YouTube video that summarizes the items to buy and steps I took in building the board.
Brian
STEP 1: Here's What You'll Need
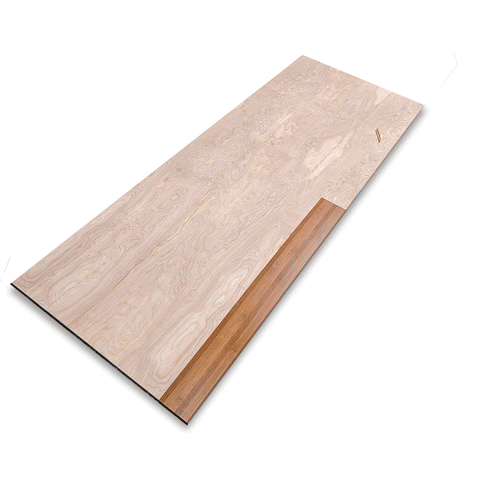
1) A Finish Surface (Home Decorators Collection Horizontal Bamboo Flooring)
2) Plywood Base Layer (PureBond Birch Plywood)
3) Sanding Block (3M Fine Block Sanding Sponge)
4) Silicone Sealant (DAP Alex Fast Dry White Acrylic Latex Caulk Plus Silicone)
5) Weights
6) Small Hammer
STEP 2: Purchase Items at your nearest Home Center
1) Bamboo Planks are located in the Flooring Department. We like the Home Decorators Collection Horizontal Toast in the 5/8” depth because it is substantial and it looks and feels just like a yoga studio floor. Available in boxes of 24.12 sq. ft. Buy 1 box. Estimated Cost/Box: $47
2) Find the 4’ x 8’ sheet of ¼” Birch Plywood and ask an employee to cut the wood to the dimensions of the finished platform. They’ll cut the plywood to size for free. Dimensions: 30” x 77 3/16” Estimated Cost: $34
3) Next, find the Sealant. We went with DAP Alex Fast Dry 5.5 oz. White Acrylic Latex Caulk Plus Silicone because it comes in a tube with an applicator so you don’t need a caulking gun. Buy 2 tubes. Estimated Cost: $5
4) Lastly, you’ll get the Sanding Block. We bought the 3M Pro Grade Precision 2-1/2 in. x 4-1/2 in. x 1 in. 120 Grit Fine Block Sanding Sponge. It’s a sponge block so it fits in your hand easily and works great for the mild sanding you’ll need to do. Estimated Cost: $4
STEP 3: Sanding
Lightly sand the edges of the Plywood so they won’t snag your hands when you’re moving the board around.
STEP 4: Assemble & Glue
1) Find a large space to lay out your plywood. The surface should be uniformly flat, so avoid uneven surfaces such as brick or grass. Put paper or plastic under the edges just in case the glue escapes around the outer edge of the board.
2) Lay out all the pieces of bamboo- six across and then another six above the first six. Fine tune the placement of the planks to insure that adjacent pieces have a consistent pattern and color.

3) Next, set planks aside and begin assembly by placing the bottom right board. Make sure that the first plank is perfectly positioned. All other planks will use this as a guide.  4) Squeeze out a bead of silicone about a 1/8” thick. Curve it around so that the whole board will be secured to the plywood.
 5) Placed 10 lb weights on the plank to hold it in place and wait an hour before proceeding.
6) Glue the other five bottom planks, moving right to left and making sure the pieces are snug (you may want to lightly tap them together with a hammer or mallet).
7) Once the bottom six are set, start with the far right plank on the top row. Repeat till done.
Let the yoga board cure overnight & ENJOY!!