Yoga Board DIY - Long-form Detailed Notes (For the real DIYers)
[Updated September 3, 2020]
After building a few of our portable bamboo platforms for practicing yoga at home on carpet and then producing the DIY text for therootboard.com site, a short how-to video on YouTube and accompanying PDF there were many more details than it seemed appropriate to include in those documents. This blog post should be considered an expansion on the do-it-yourself PDF for the true Nerds and Gearheads out there. Takes one to know one!
Brace yourself- this article is long!
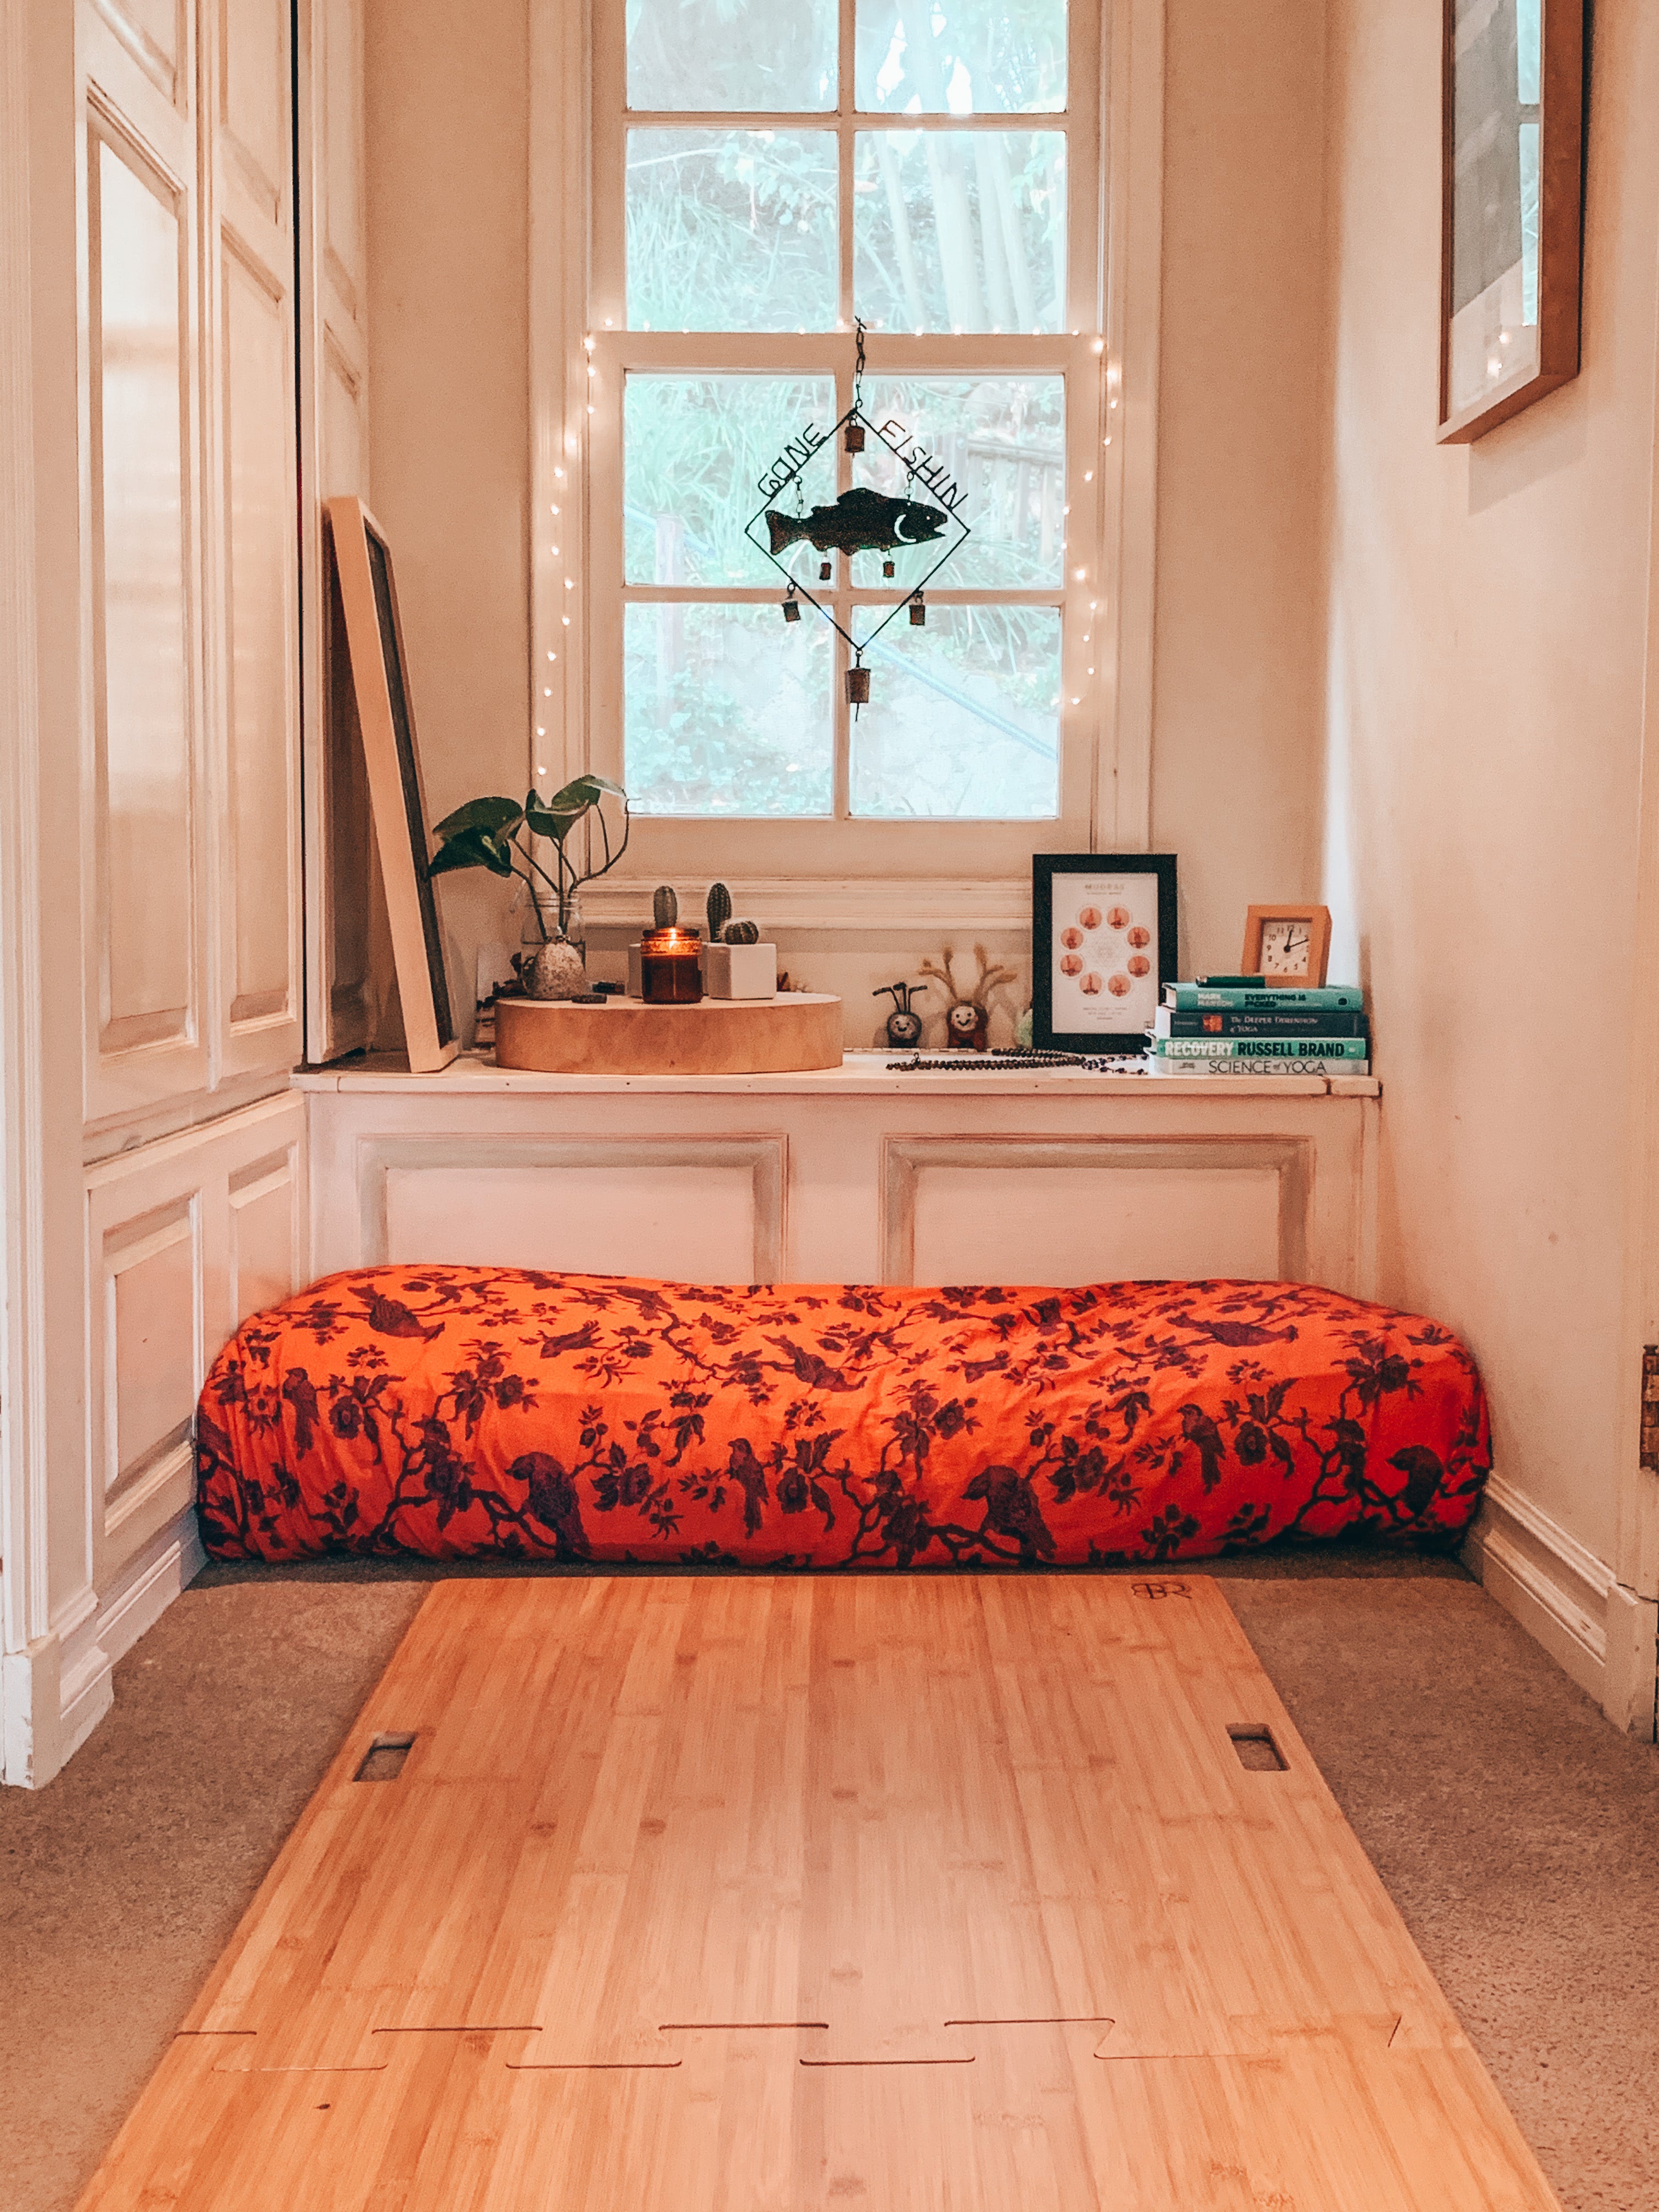
To start things off, I’d first state that there are several ways to achieve the result you're looking for. We want our at-home yoga practice on carpet to feel as much like the studio experience as possible. I'm sure there are many ways to achieve this result. For Kathy and I, it was to develop a hardwood surface that we could lay the mat down on. And I must say, for my taste and expectation, we've nailed it. Our yoga practice at home on carpet is about as close to the studio experience as it can be. That is, as it relates to the physical location. There is nothing like being in a studio with an instructor who is able to see you, not through a video camera, but through their own eyes and being able to walk over, adjust you and assist in your movement. I don't mean to suggest that yoga at home replaces that because I don't think it does. But for now, during the pandemic and even after as we find that it's best for various reasons to practice at home, we want that experience to be optimized. Okay, back to the build.
Step One - The Materials
Let's start with the Finish surface. We chose bamboo because it has the best weight to hardness ratio of any wood or would-like material (yes, I know bamboo is a grass). I'm sure there are plastics or other man-made materials that can achieve the same hardness with less weight but for now Our intention is to stay natural and replicate the studio experience as much as possible- not just in function but also in esthetics. And yes buying this at a home center, or in our case Home Depot, is quite expensive. I would love to hear if you have found less expensive ways of buying the same or similar materials.
Next for the plywood base layer, we chose the ¼” Birch plywood. We passed on pressboard and MDF (medium density fiberboard), because these wood products are not quite as durable as the Birch plywood. The ¼” thickness is thin enough to remain lightweight while being thick enough to handle the durability requirements of the project. I was quite surprised at the high price of this plywood. I think it may have something to do with tariffs but I couldn't find anything less expensive that was made in America.
For the sanding block, not much to write here. I know some of you will have extra sandpaper lying around your garage and that's excellent. Try to stick with relatively fine grit like 120 or 180 or even 220 and stay away from the course grits.
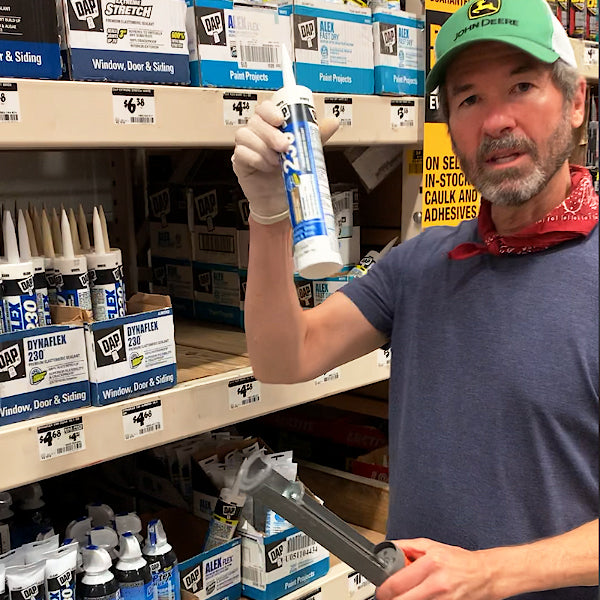
As for sealant, we could write an entire blog post on this. Chose the DAP silicone sealant and it worked fine but other glues I'm sure would work as well. We have used very thin beads of Gorilla Glue and found it was exceptionally strong in making the bond between the plywood and the Finish surface. The keys to the sealant piece are 1) having a flat surface to complete the sealing, 2) allowing enough time for the sealant to cure, finally 3) having an evenly distributed weight on the surface while it is curing.
So a few words on the weights, we chose to use 10 lb barbell weights because we had them available and because they looked more professional than 10 pound bags of flour or granulated sugar. :) The main point here though is that anything will do. Some possible suggestions are cast iron pans, filled gallon jugs, firewood, you get the idea. Heavy and dense objects. Enough said
Step Two - The Purchase
And now a few words about purchasing the items. We chose Home Depot because it is conveniently located but you can get these materials at just about any Home Center. Lowe's or a larger Ace Hardware, or most lumber stores. Here in Los Angeles there is local retailer called Anawalt. Keeping it local would be ideal if you can. When you are cutting the plywood I urge you to have them do it at the store. They have the right equipment to allow for a very uniform and straight cut. I have a circular saw but I don't have it mounted onto a table and I am sure that if I were to attempt to make these cuts they would not be near as straight as the cuts done by the folks with the right tools. Bonus too that these Home Centers typically will make two cuts for free with any additional cuts only being $0.50 each.
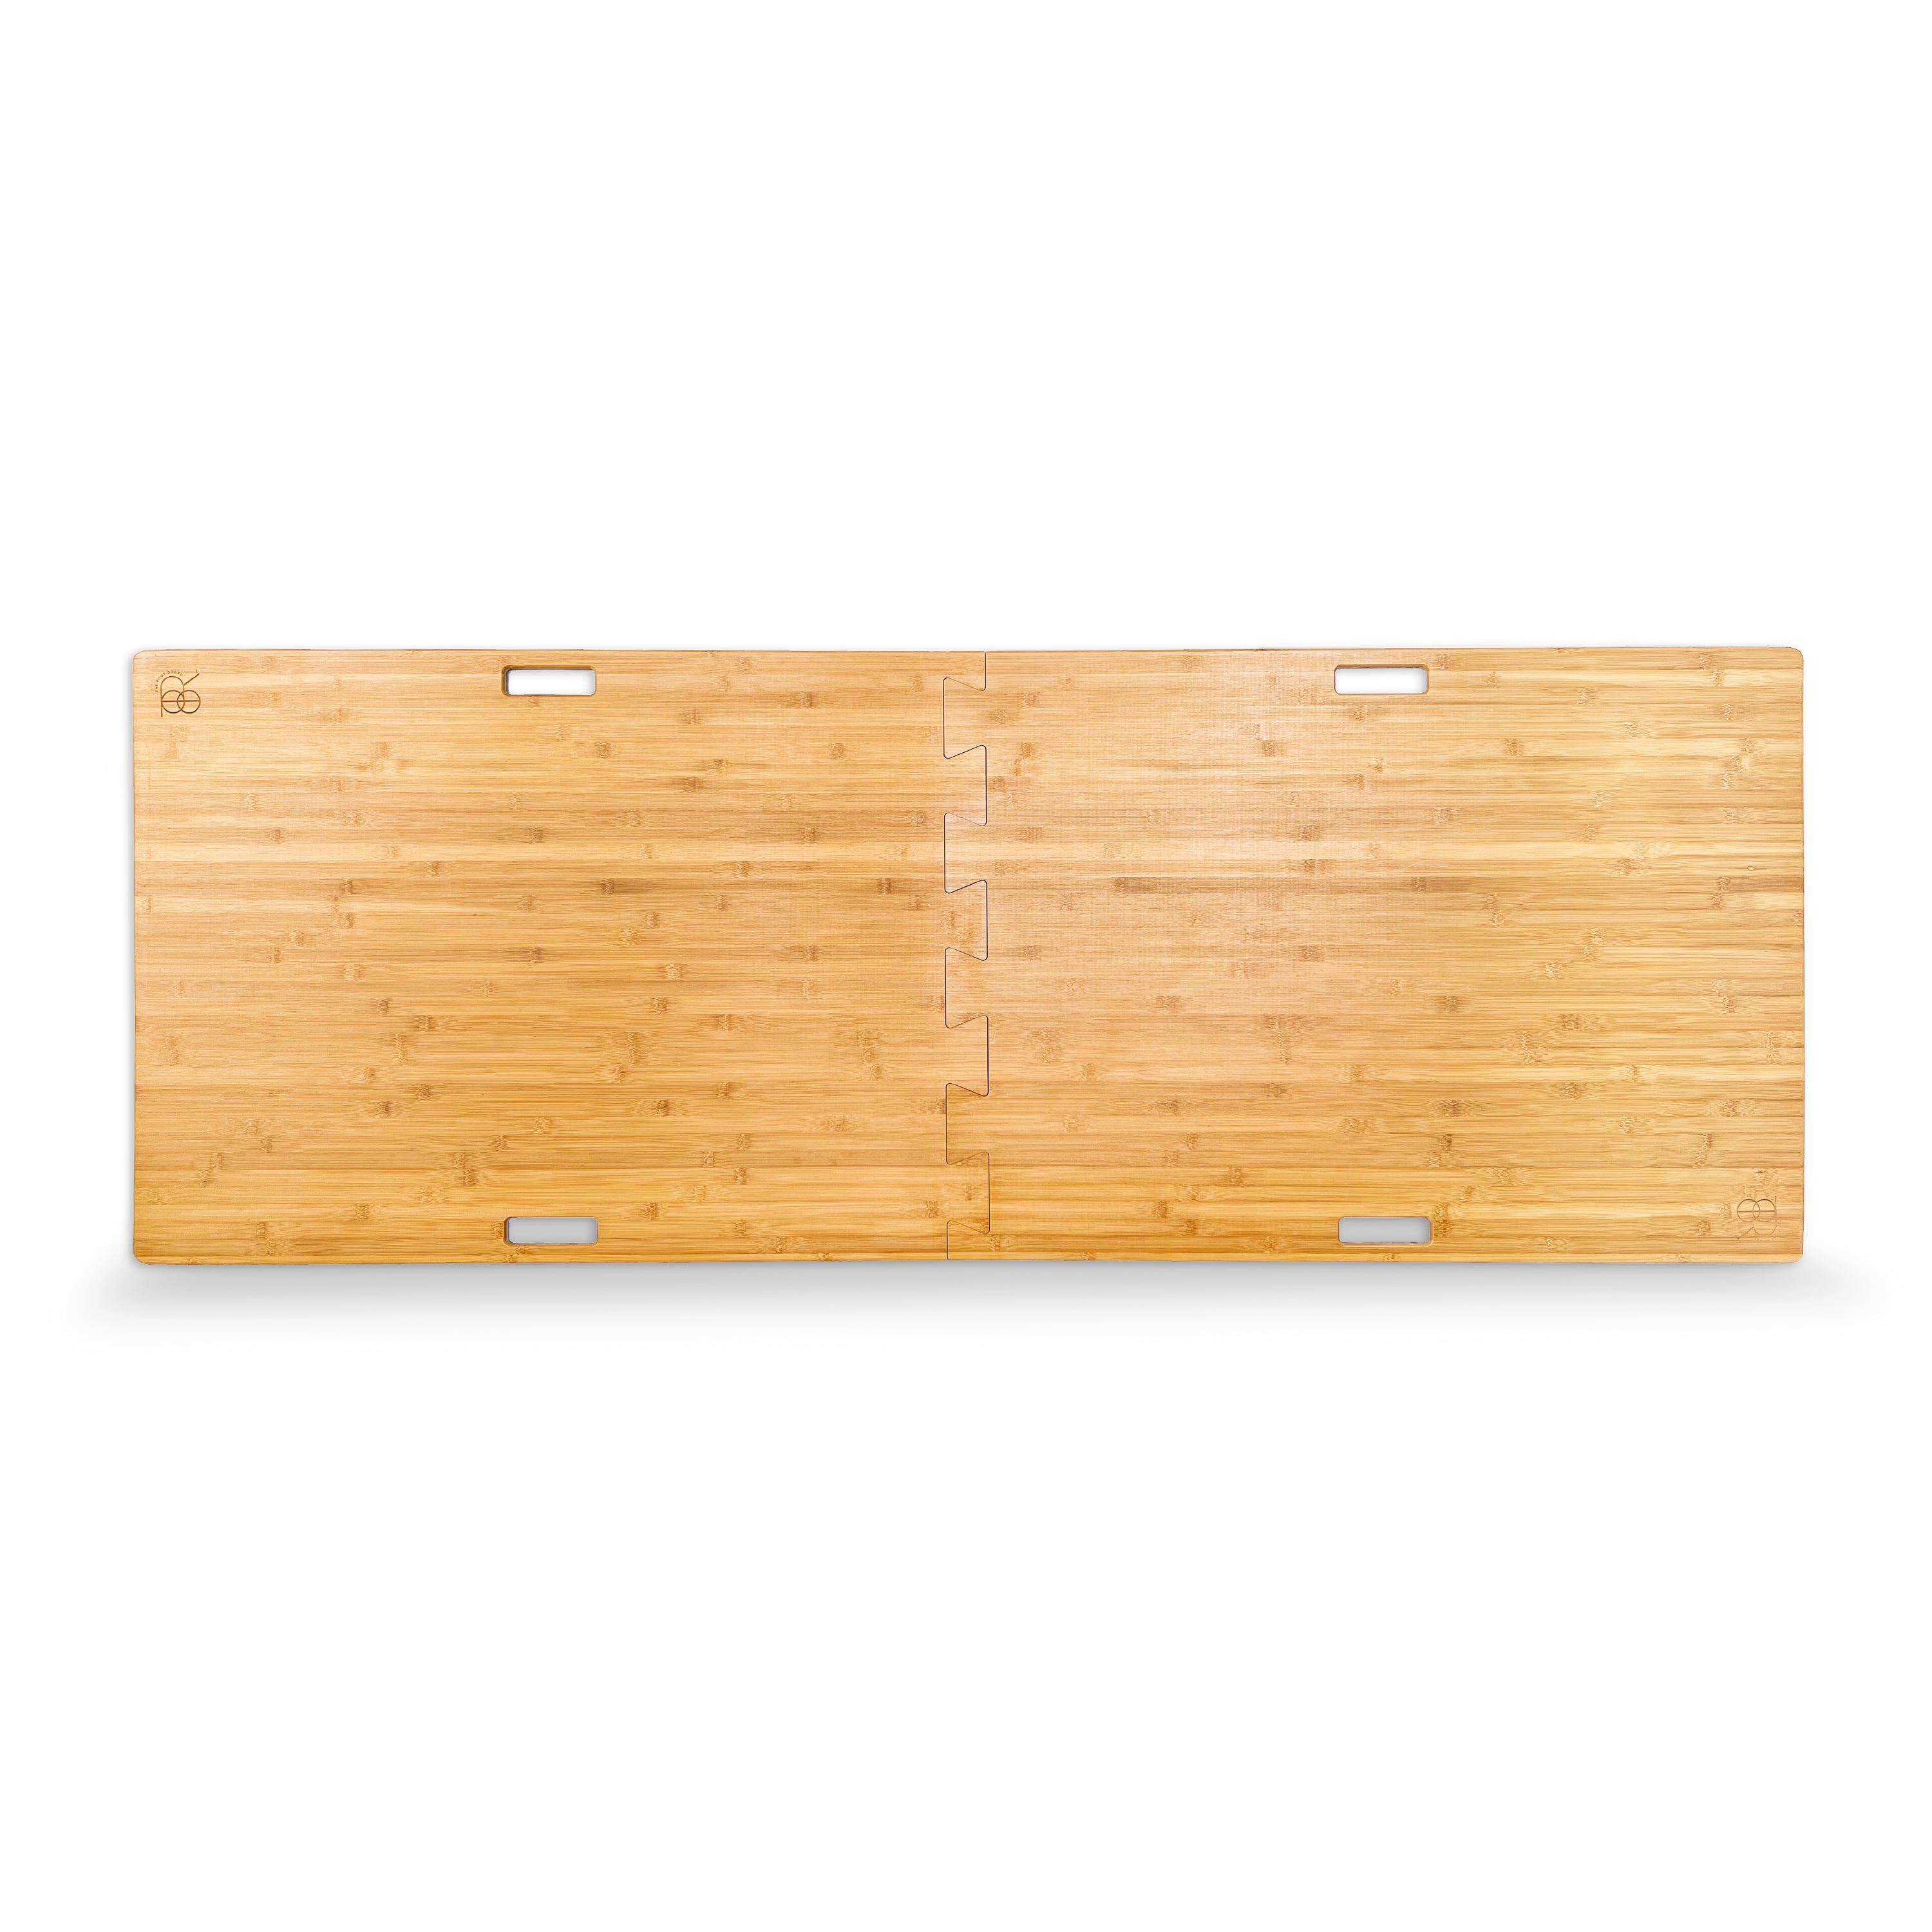
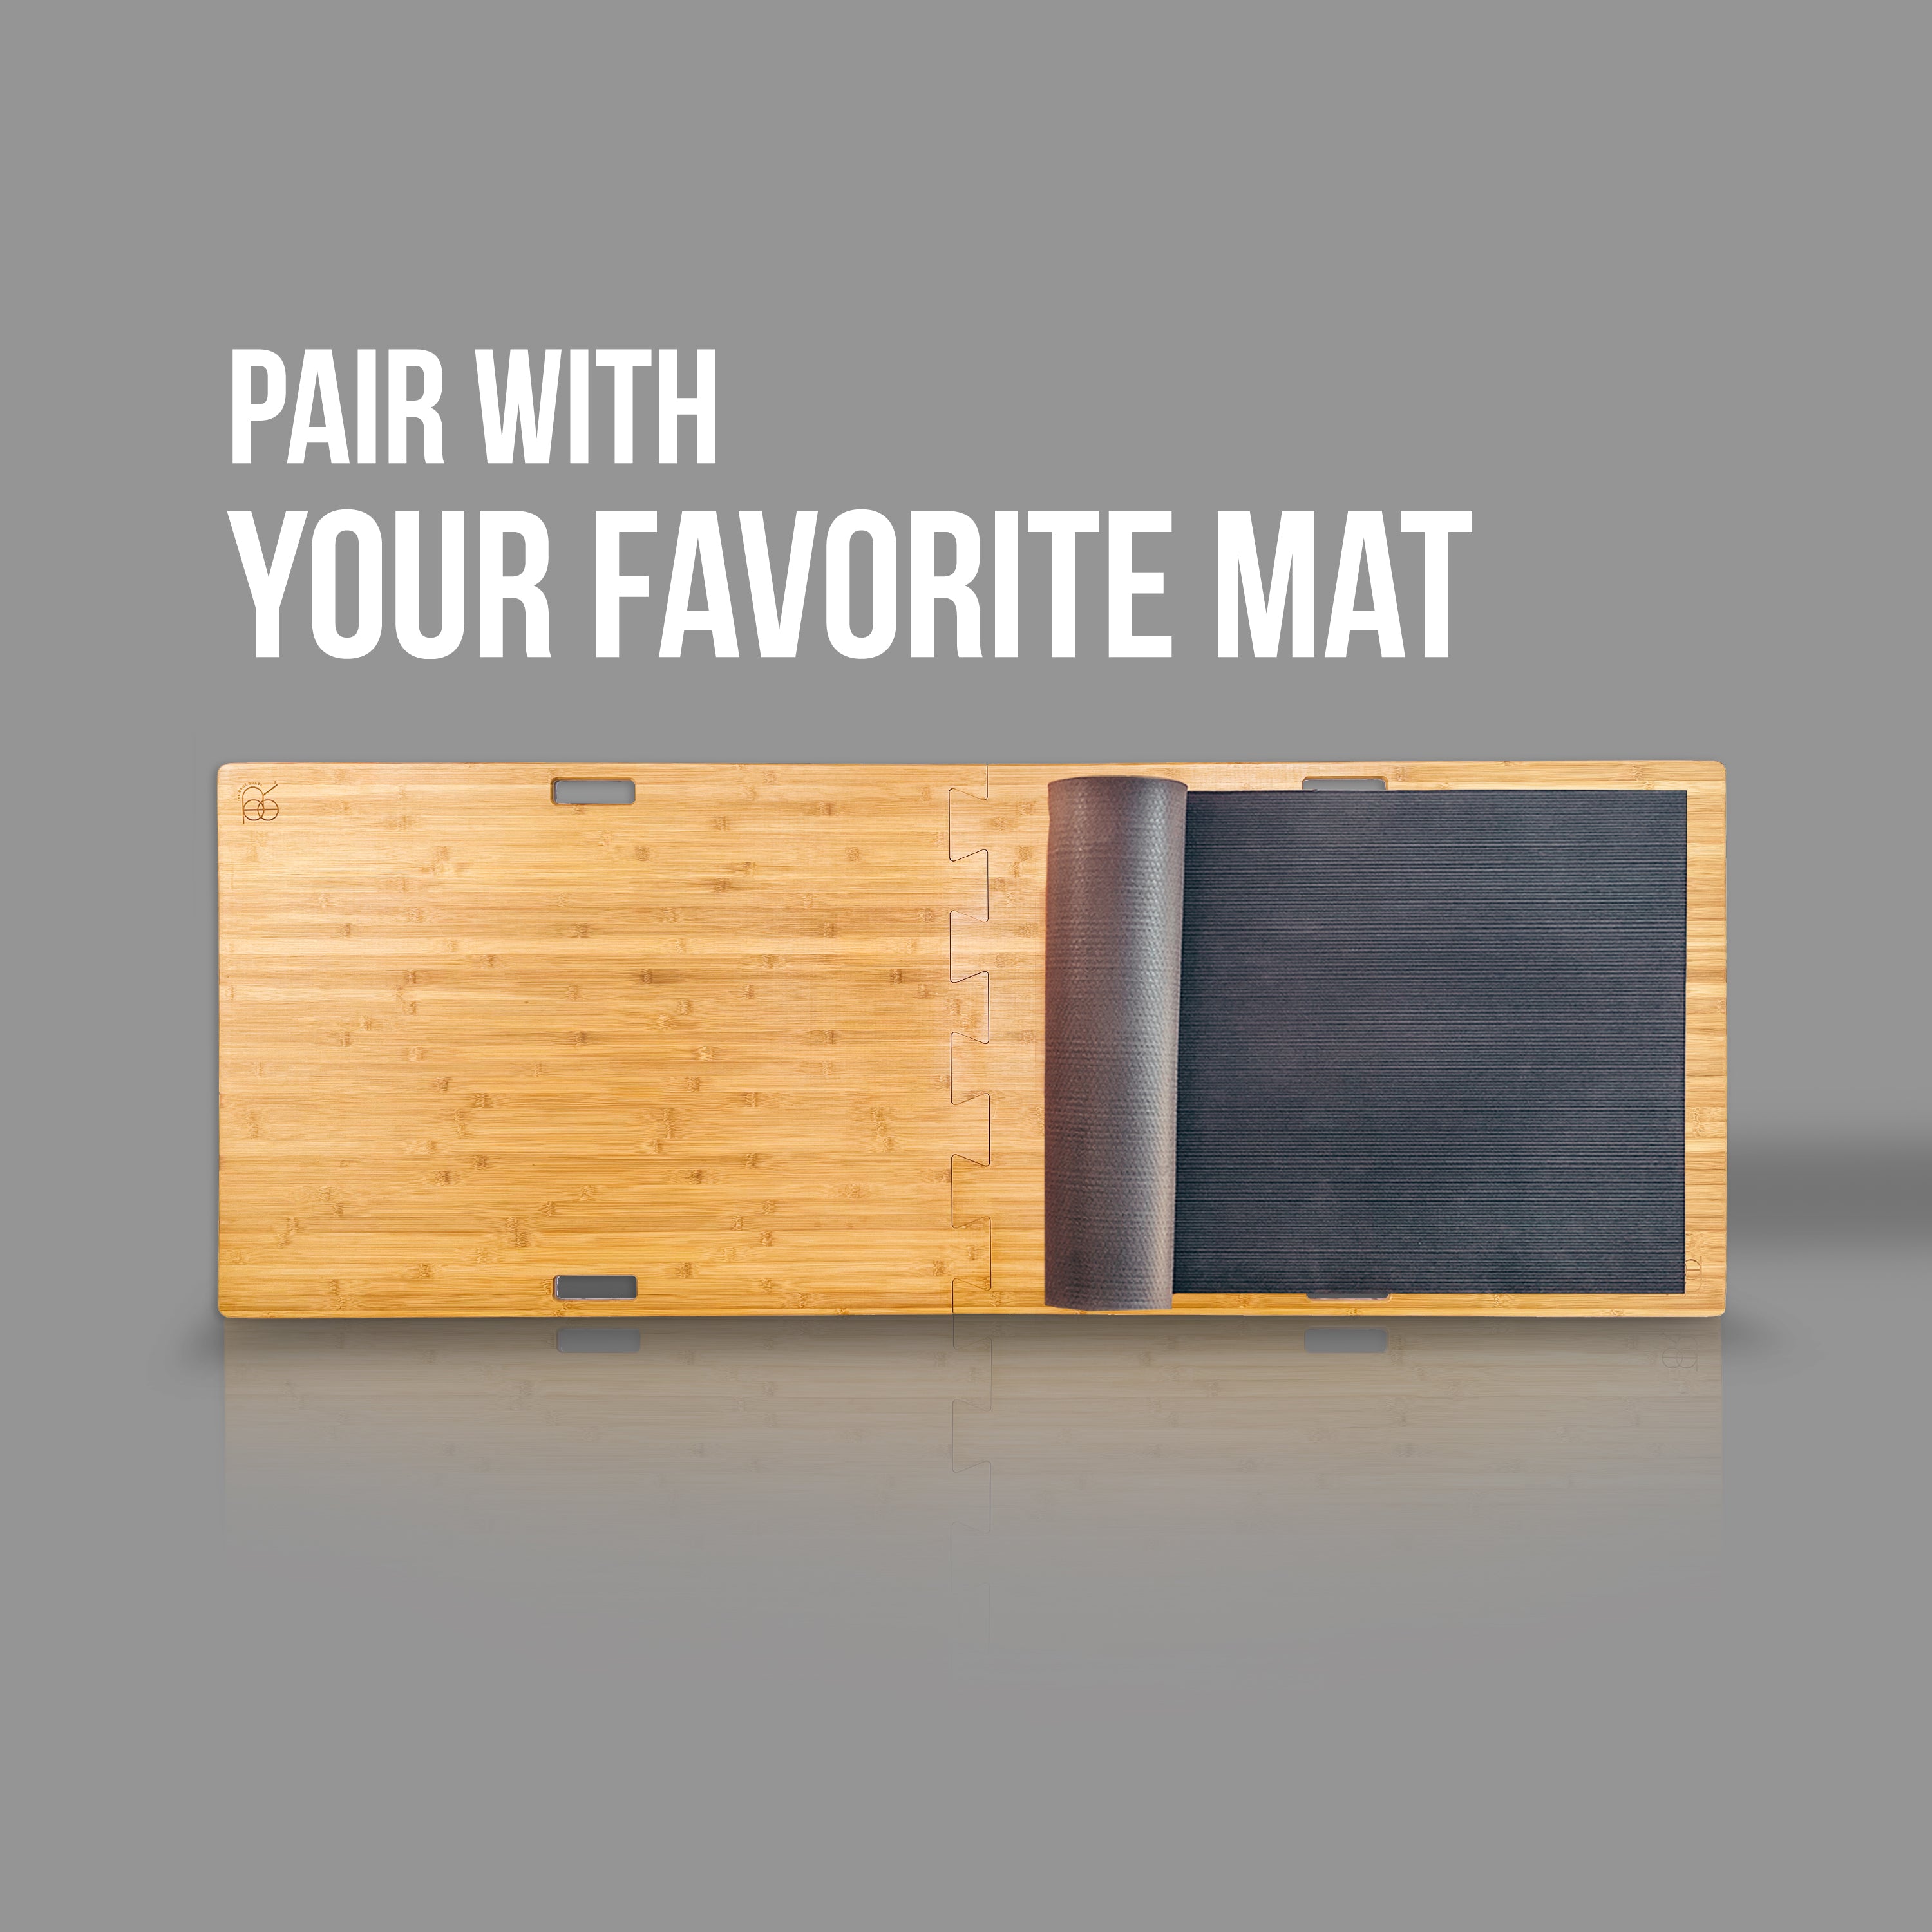
Depending on where you're purchasing the materials you may find almost endless options when it comes to the finish surface. What's important here if you are going to stray from my suggestions is that you purchase finish planks that will, when laid out lengthwise be the exact length you need for the platform. You'll notice the Birch plywood dimension length is 77 3/16”. That is because two of the Home Decorators Collection Horizontal Toast bamboo planks when stacked end to end measure 77 3/16”. If you're buying some other finish surface you want to adjust your plywood measurement accordingly. The same applies to the width. The finish surface planks we chose were five inches each, we used six resulting in 30” width.
And there are countless options it seems with the sealant. The key thing to be aware of here is that you have enough sealant to place all 12 planks on the plywood. We suggested the tube with the applicator because it's less expensive than having to buy the applicator gun but if you have one of the applicator guns lying around then you can buy the regular tubes. One tube should easily complete your yoga board.
Step Three - Sanding
My dad taught me that the quality of your paint job was 50% in the sanding. My experience has reinforced that message several times over my life. And with the yoga board it's the same. The good news is that the plywood has a very smooth surface so your only focus is on the edges. Depending on the sharpness of the circular saw blade at the Home Center you may have a little or perhaps moderate amount of sanding to do. just make sure when you're sanding that you're smoothing out any potential burrs or wood pieces that would cause splinters.
Step Four - The Build
Let's start with your workspace. You're going to be at this for several hours so find a space that will be undisturbed for that time. It may be best to work in the area where the yoga board will be used. Just make sure that you lay down plastic or some construction paper or newspaper so that in the off chance that some sealant does escape out the sides of the board it doesn't damage your carpet.
Next, and this is perhaps the most important piece of information to ensure a proper build, make sure to place your first plank exactly in the location you want it to be. Here I suggest that you make a dry run and lay all 12 pieces of plank out on the board and see what it's like to push them together and how difficult that is and how you can adjust both on the width edges as well as the length edges.You may want to use a small hammer or mallet for this part, gently tapping the pieces together.
Okay so once you've done that you're going to lay the first board on the bottom right of the plywood. Snip the top of your sealant container as directed on the package and lay a thin bead of sealant in “S” shapes down the back of the plank paying special attention to have enough at the bottom and the top to make a good seal. Lay the first plank down and apply significant pressure along the whole length of the board. Check to make sure that it is in the proper location in relation to the plywood. Then lay your weights down on the plank. And then again check for location. The process of laying the weights down can make the plank slide. Let it dry for an hour or more. Once the first plank is properly located and the sealant has started to harden continue to lay the balance of the planks. It’s very important that the planks are exactly located next to each other both on the top and bottom as well as on the sides. You'll get a feel for it. The tongue and groove fits very snugly together and at times you may want to use a small hammer or a mallet to tap them together. Be very careful though that in doing so you do not move the original plank. I suggest finishing the bottom six planks, giving them some time to cure before you start on the top six. The process is the same, though. Start to the far right and work left. When you're all done you'll want the yoga board to remain where it is overnight. Very important that it cures before you start moving it around or standing it on its side. Once it is cured, though, you should be able to lean it up against a wall or the back of a couch to store it and lay it down only when needed.
For those of you who may have a shop or access to power tools you may consider using a router to smooth out the edges of the yoga board. I used a ½” fullround bit on my 1 ½ horsepower router and It produced a beautiful smooth round edge. For the especially handy out there you could also use a drill and a router to carve out handholds for the board. Not necessary but certainly a nice to have.
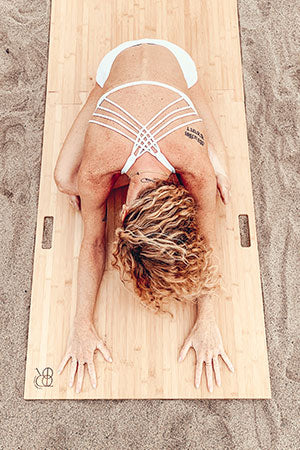
So that's it. I'm feeling this is quite long-winded but I did want to give you the full story with as much detail as possible about how best to build your yoga board. Again, I am thrilled with the result. It really has enhanced our yoga practices at home on carpet. I'm hoping that you take the challenge and go out and build one for yourself or for your loved one. I'm sure you will appreciate the result. Good luck and do write in if you have questions. Thank you

Comments