Yoga at Home: tips on setting up for an interactive yoga class.
I love my yoga-at-home practice. I depend on yoga to keep me calm, mindful, kind, focused and full of energy. My practice suffered in the early days of the pandemic when studios were closed. I was having difficulty completing the pre-taped online classes and there were so many distractions at home. I set out to improve my experience. First, I found my yoga teachers and yoga community had moved online, and I started to take zoom classes. In these classes, your teacher can see you, and you can see your teacher and all the other yogis practicing with you. It's your new lifeline. Secondly, I improved my home space by carving out a dedicated place to practice and using The Root Board to stabilize my mat on carpet. These discoveries have brought yoga back into my life in all it's transformative and brilliant glory. I'm excited to share this with you. I want to point out that this article is particularly focused on tips for setting up for a yoga class in which your teacher can see you, and you can see your fellow yogis in a gallery view. If this is the case, it’s well worth your time to consider the way your teacher is viewing your practice. Do it right so your teacher can offer alignment cues that help you to practice yoga safely, as well as give you the encouragement and feedback that challenge you to dig deep, create stillness and work through the things that brought you to the mat in the first place.
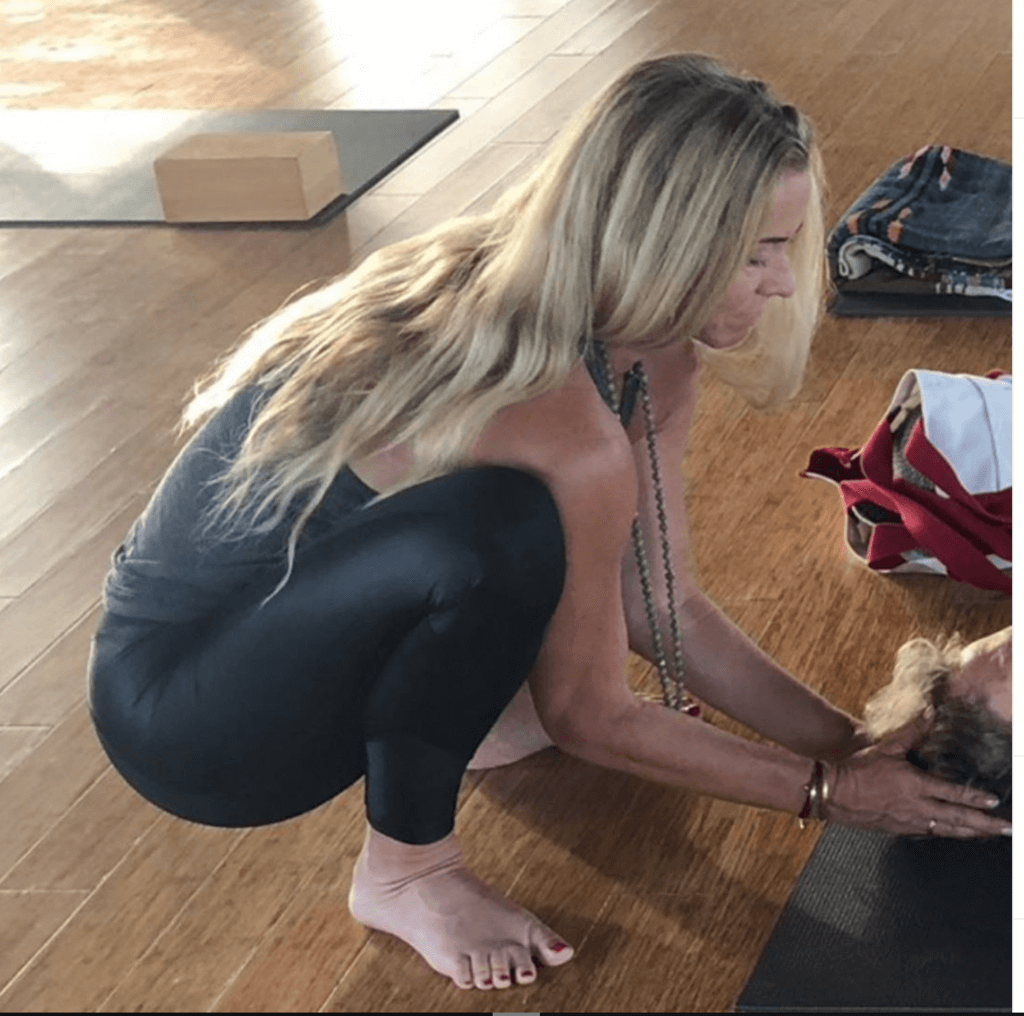
I asked one of my favorite yoga teachers, Papo Caballero, for advice about the best way a student can set up for his zoom yoga class. I’ve observed many different ways students position their mat and camera and I was curious to know what works from my teacher’s perspective. I met Papo a few years ago when I started to practice at YogaWorks in Santa Monica. He teaches a rigorous 90 minute class that is challenging and cathartic. When I want to wring out tension in my mind or body, or I need a break from worrying thoughts, I head to my mat with Papo. His classes are very popular and many students, including myself, followed him online and continue to take his classes. (@papoyoga)
Here are 4 suggestions that will up-level your home practice:
- Carve out a dedicated space to practice yoga and meditation
- Invest in essential equipment and props
- Utilize the right camera position
- Lighting
A Dedicated Yoga Space
 Create a dedicated place in your home for yoga and meditation. There are many benefits of doing this. Foremost, it’s a way to claim and commit to self-care and the well-being of those around you. It reflects your intention of creating healthy habits. And it surely increases your accountability to show up for yourself. You don't need a lot of space. I created a cozy nook at the end of a hallway, and stow my mat when not in use. I like to fill my cozy spot with meaningful books and objects. I keep this area simple by removing “clutter” and replacing objects based on what I’m working on. (see blog, "Create a Joyful Place to Practice Yoga"
Essential Equipment
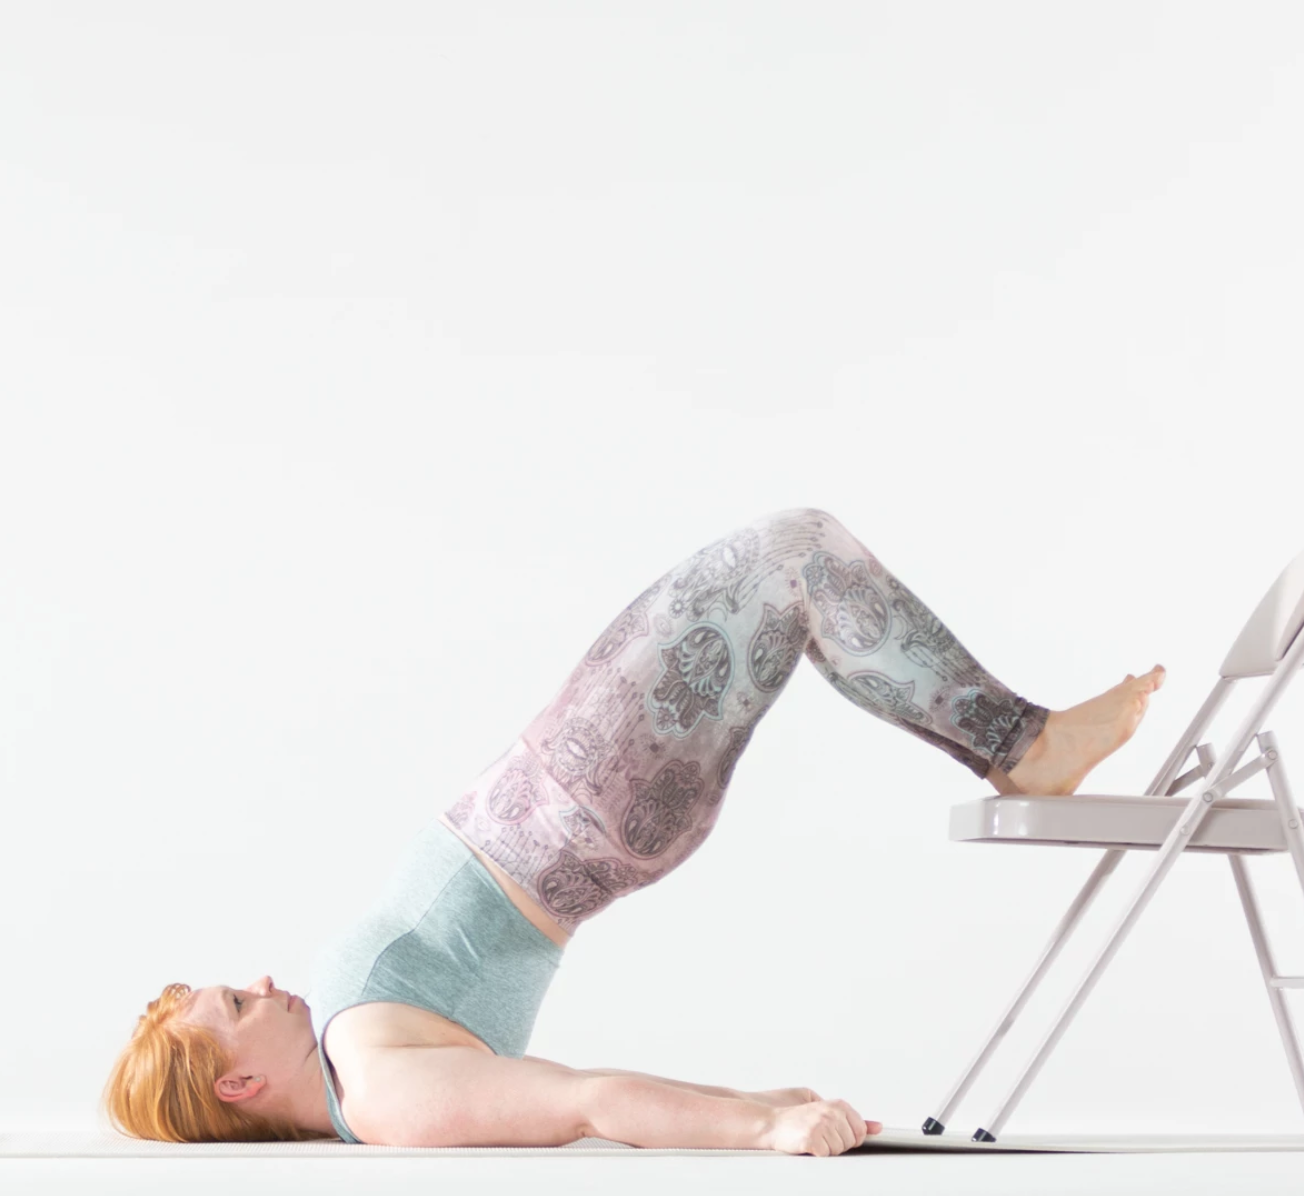
Invest in props that allow you to practice yoga safely, deeply and without interruption.
- Yoga Block
- Yoga Strap
- Blanket
- Bolster
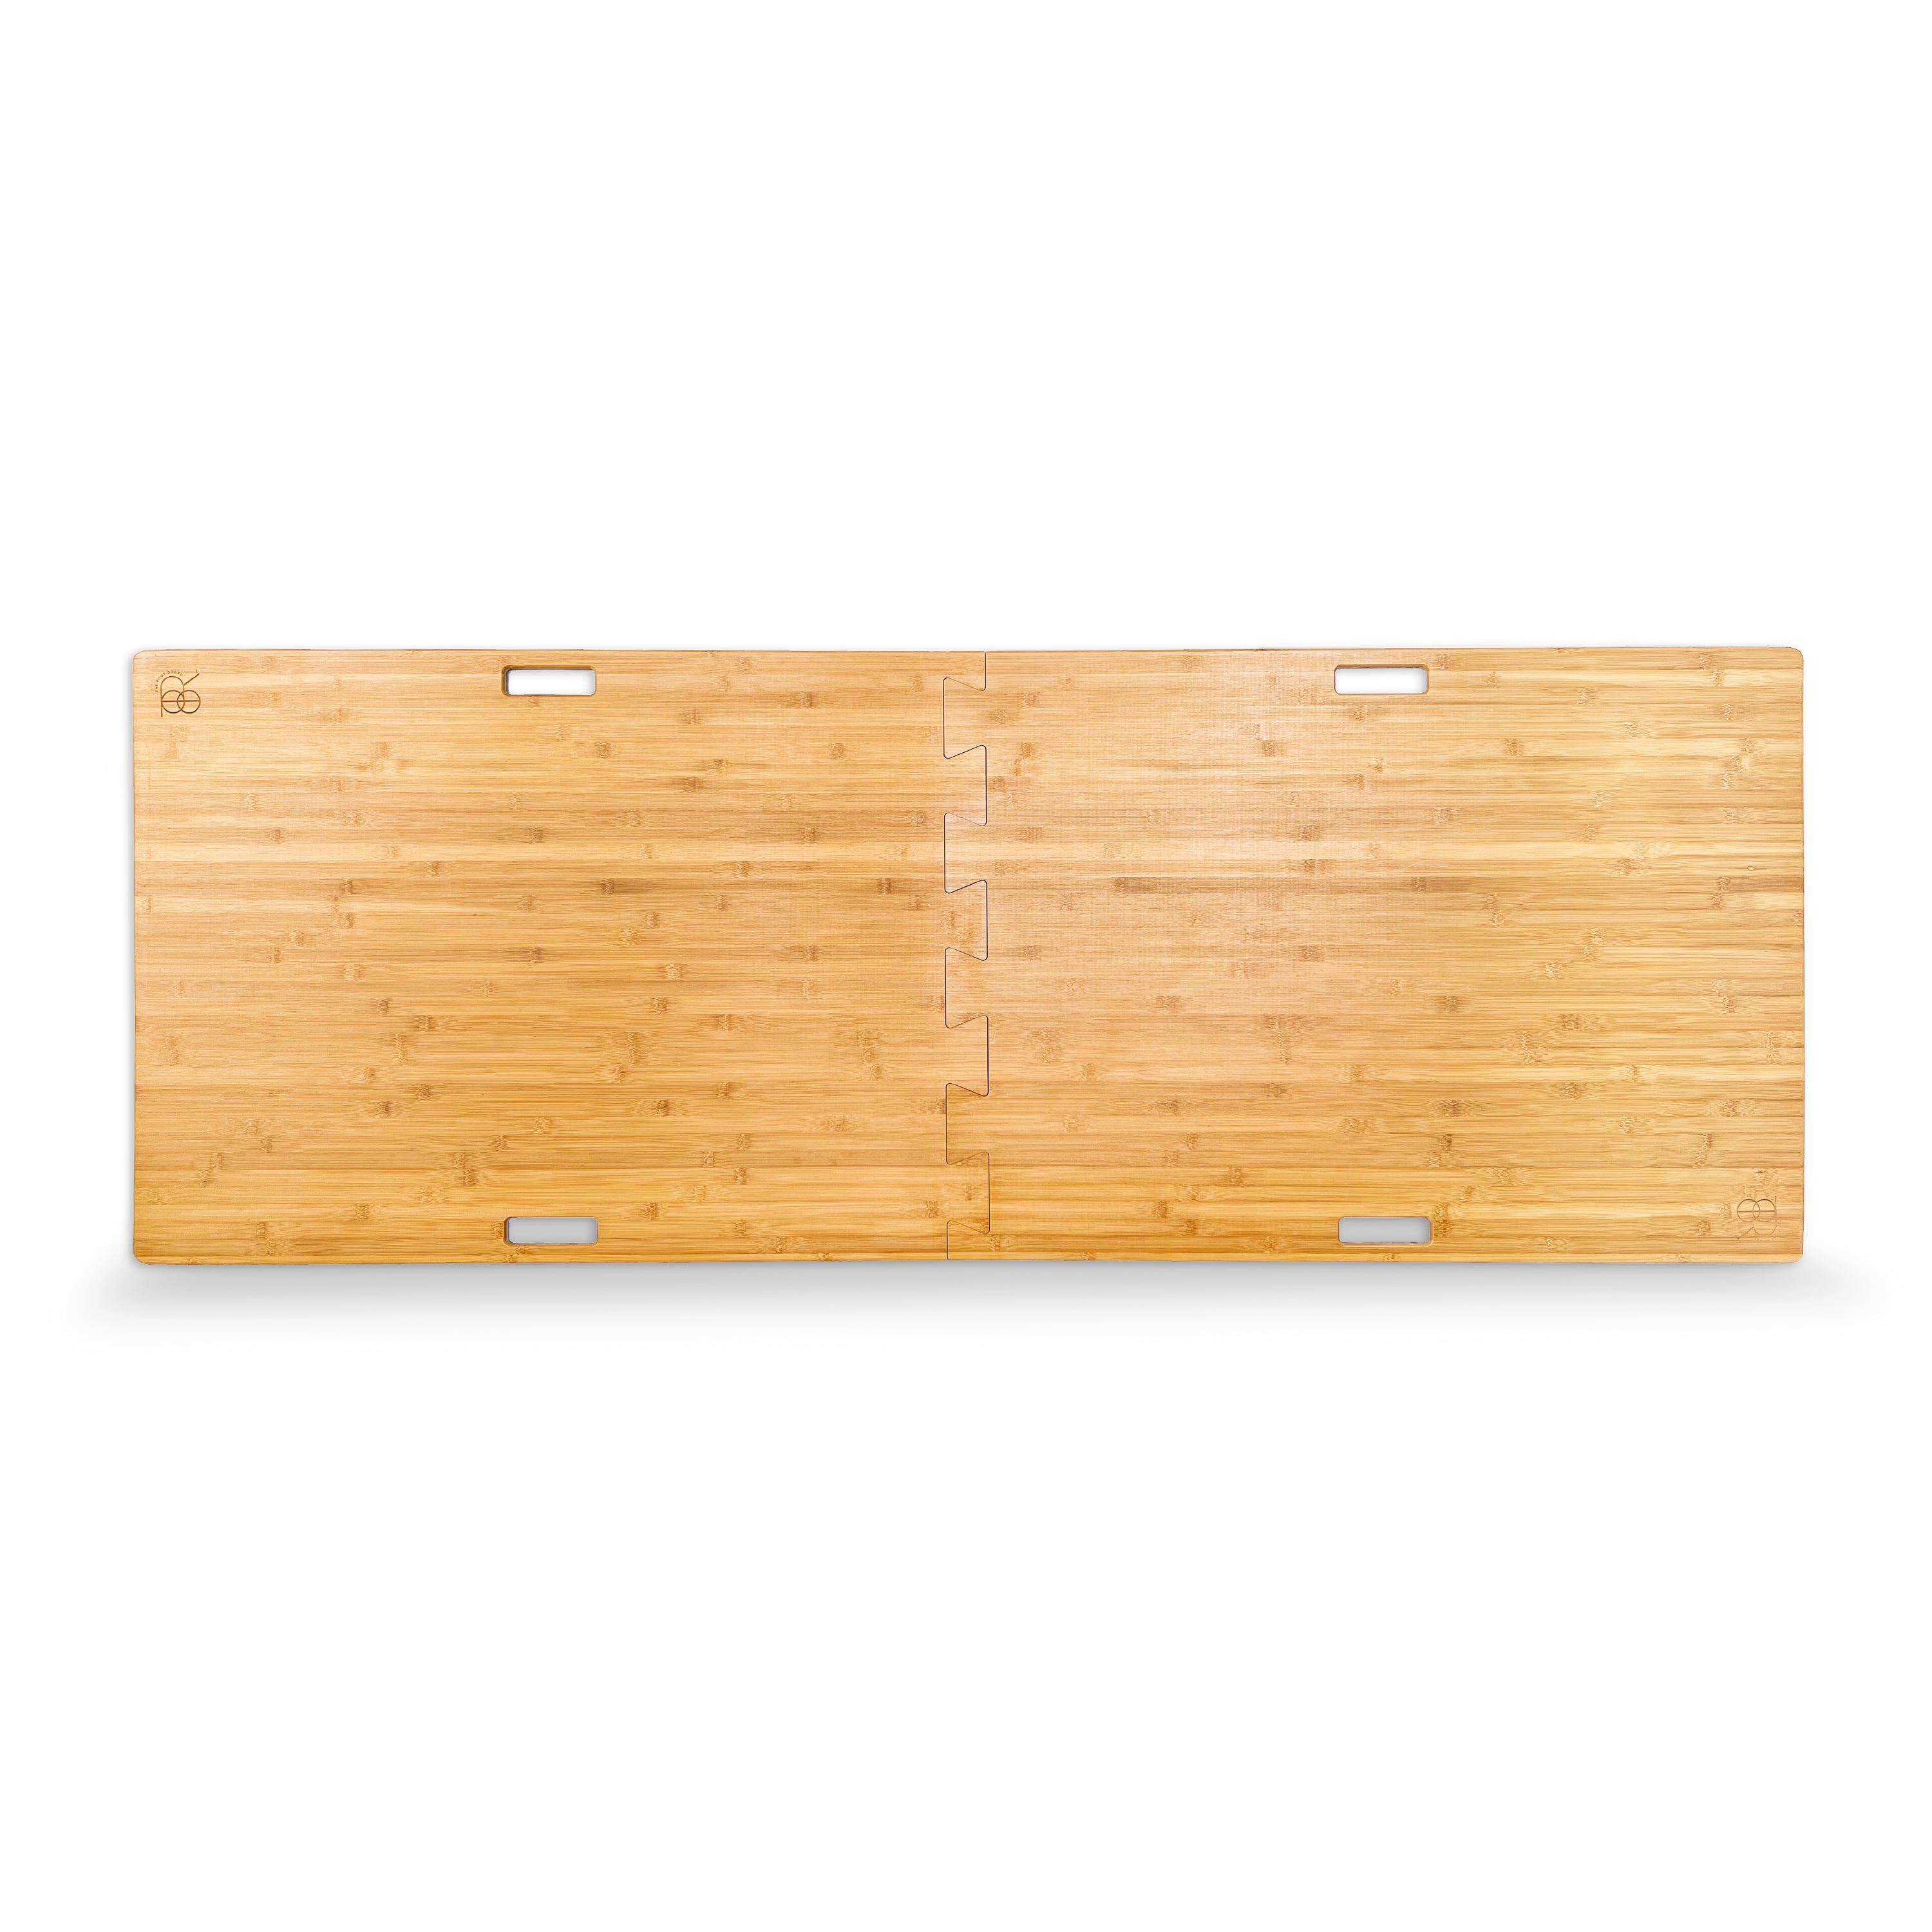
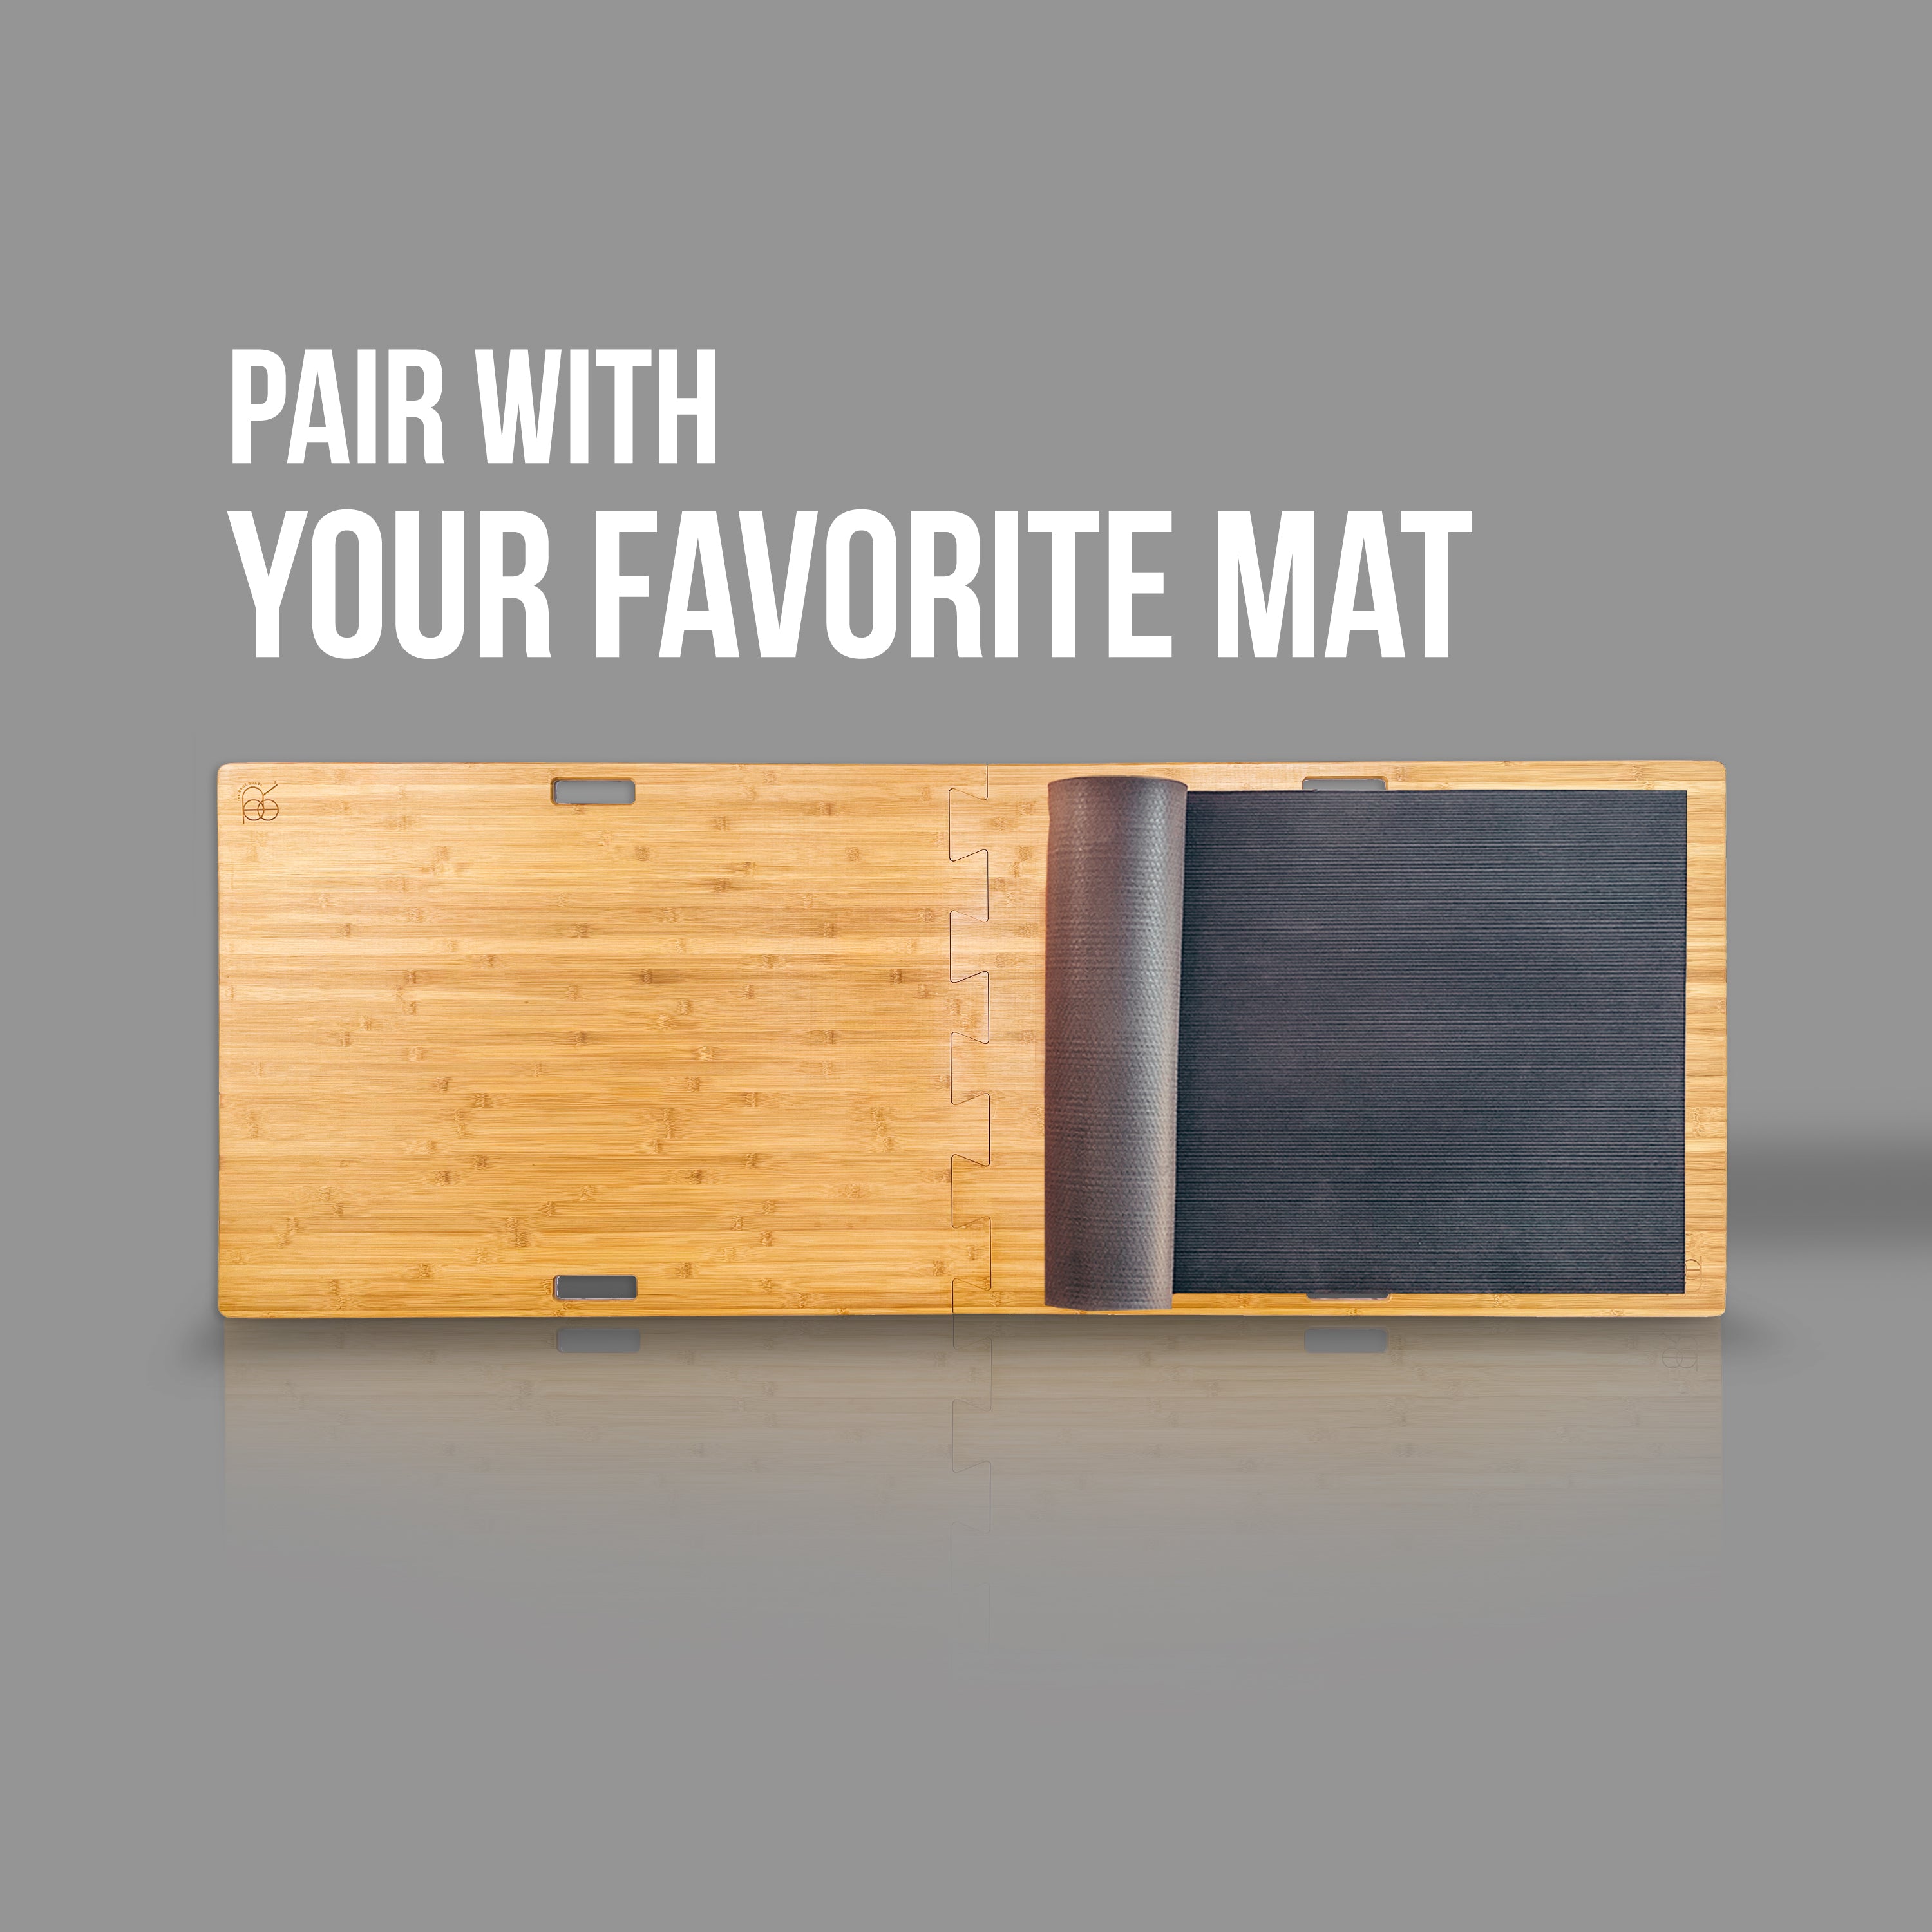
- Root Board (for those practicing on carpet)
- Mat (Manduka Pro, for example)
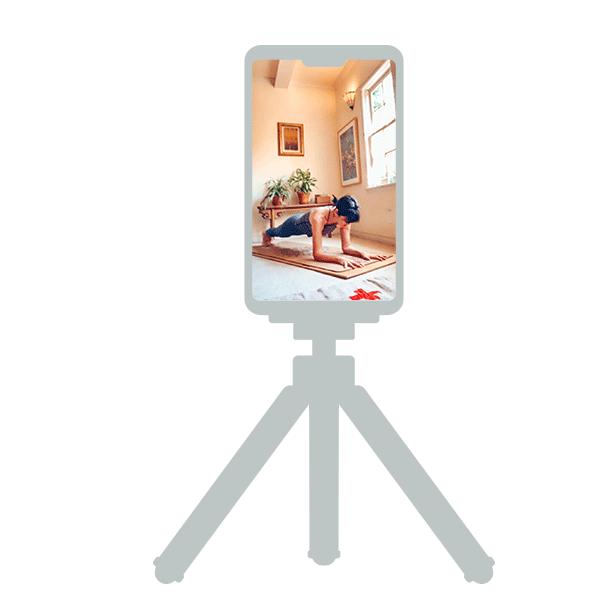
- Tripod with Mobile Phone attachment
- A Speaker or Airpods
Pro-Tips for Camera Position
I tried a variety of set-ups and it became clear that getting it right was simple once we considered which images are best for the teacher. The first consideration is determining which device (mobile or desktop) to use. I was surprised to learn that camera phones have a broader depth of field. You can see the subtle difference in the example below. If you don’t have a lot of room (i.e. your device is close to your mat) choose your mobile device as the improved depth of field makes a difference.

SET UP 1
- Device is 35” from the mat.
- Camera is positioned at an angle so that the side body is visible (think 2:00 o'clock)
- Tripod is on lowest setting (about 10” from ground)
- Device is rotated to Horizontal (landscape) Perspective
This was my initial set up. Papo commented that it doesn’t give a good view since most of my body is off screen, especially when I’m at the front of my mat. Hmmm... true.

SET UP 2
- Device is 35” from the mat.
- Camera is positioned at an angle so that the side body is visible (think 2:00 o'clock)
- Tripod is on lowest setting (about 10” from ground)
- Device is rotated for Horizontal (landscape) Perspective
- Phone tilted back
- Device is 35” from the mat.
- Camera is positioned at an angle so that the side body is visible (think 2:00 o'clock)
- Tripod is on lowest setting (about 10” from ground)
- Phone tilted back
- Device is set to Vertical (portrait) Perspective

- Device is 35” from the mat.
- Camera is positioned head on. (think 12:00 o'clock)
- Tripod is on lowest setting (about 10” from ground)
- Phone tilted back
- Device is set to Vertical (portrait) Perspective
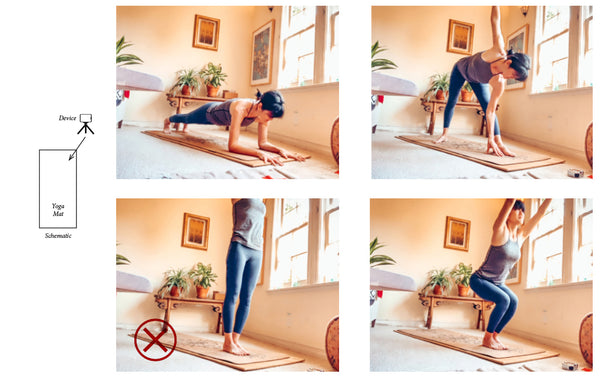
Avoid setting up your camera in front of your mat. As you can see, it would be difficult to give alignment cues from this perspective.

- Device is 6’ from the mat.
- Camera is positioned at a distance and perpendicular to the mat so the entire side body (think 3:00 o'clock)
- Tripod is on medium setting (about 20” from ground)
- Device is rotated to the Horizontal (landscape) Perspective
It’s clear to see that the side view offers the best vantage point. If you want the best set up, Papo suggested having two devices. Your mobile device is on a tripod, set up to show the side of your body. Then place another device, like your laptop, on the floor (at 2:00, see set up #3). Turn your video and sound off your secondary device so you are able to see the gallery of fellow practitioners, but they won't see this second version of you. I find it is useful and a great way to plug into the collective energy of the practice. Add some music, and you have created the studio vibe and are on the path to wellness! Please check with your teacher if you want to try the two device approach. If the class is large, it's understandable if your teacher prefers you use only one. ![]()

Lighting
![]()
![]()
Lighting is always a challenge as it varies throughout the day, everyday. Most of us practice with windows behind us, creating a back light and shadows that make the poses difficult to see. If it is very dark, I suggest buying a soft filtered light that you can set up near your camera.
![]()
Work with what you have.
![]()
![]()
Many of us have logistical issues with the ideal set up. Set Up #5 is the gold standard, but I have several challenges. For one, my home is small so finding an unobstructed view from the side is difficult. I showed you my yoga space, and it's tight. Work with what you have. I set up my phone on a tripod in my corridor faced into the room. It works well.

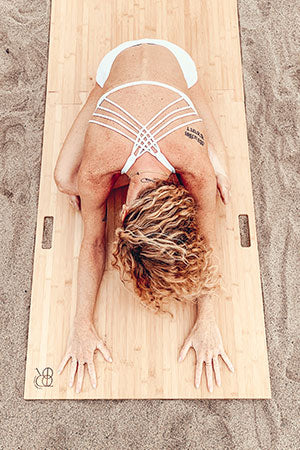
Another challenge I faced was carpeting. I find that practicing on an uneven surface interferes with my ability to hold any pose which erodes my confidence and focus. The Root Board, made from Moso Bamboo, is beautiful, stable and portable. It’s all about creating stability and a vibe of wellness.

![]()
Setting up a home yoga practice is so important if you want to get the most out of your yoga practice. After going through these exercises, it is clear that the best set up is a side view (set up #5). If you can use two devices, do it! If you are very tight on space, set up #3 will work just fine.
I hope this article has been helpful. I'm passionate about yoga and truly believe that our yogi practice makes the world a better place. I'd love to hear about your ideas. Share on Instagram (please tag us: #therootboard)
Follow us on instagram (@therootboard) or subscribe to our newsletter for other happy yoga inspiration! Sign up by sending us your email (located in the footer). If you are interested in Papo Caballero, find him on Instagram (@papoyoga). Hope to see you on the mat!

Comments
Sylvia —
Thank you so much for sharing the details of various setups! From your advice I have a MacBook mounted up a laptop stand, facing my body at an angle of two
Krista —
Thank you for sharing this. I’m starting an online class tomorrow and this saved me so much time of having to figure out the set up myself. 🙏